Custom Key Settings
You can assign functions to the custom keys to easily start specified functions.
This chapter describes how to operate the custom keys and how to assign functions to the custom keys.
Basic Operation of the Custom Keys
- Touch any switch (except
 ).
). - The operation guide appears.
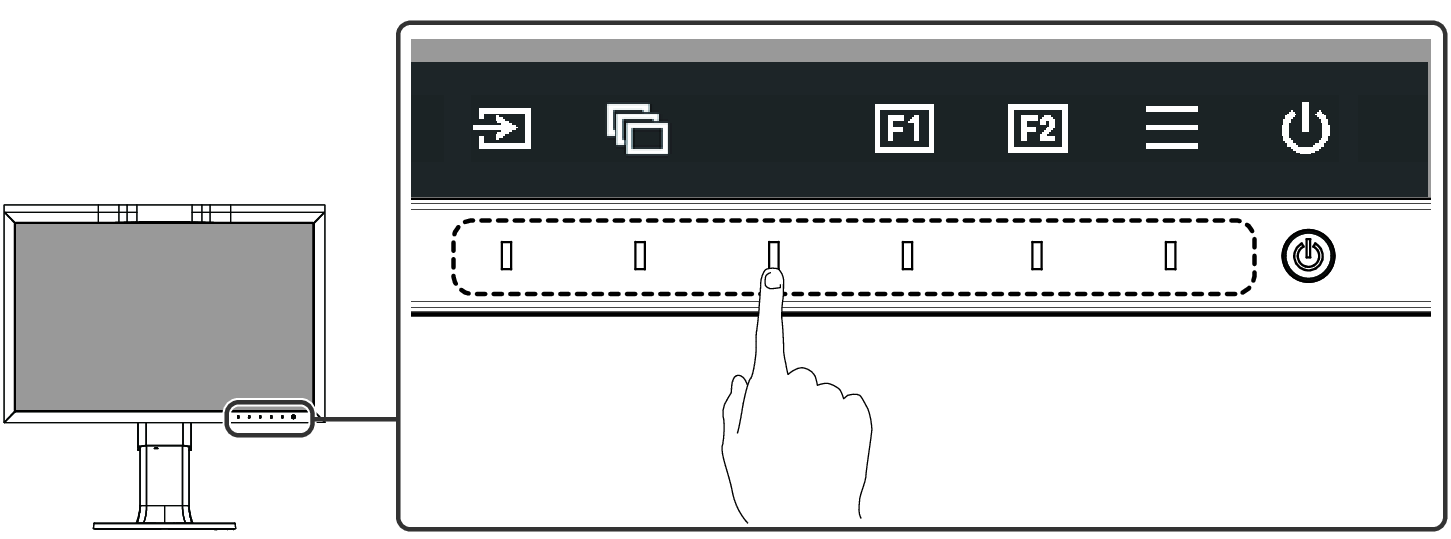
- Select
 or
or  .
. - The function assigned to each button is executed.
Note
- If you touch a custom key to which no function has been assigned, the menu for assigning a function to that custom key appears.
Assigning a Function to a Custom Key
- Touch any switch (except ).
- The operation guide appears.
- Select
 .
. - The Setting menu appears.
- Use

 to select "Preferences", and then select
  .
. - The Preferences menu appears.
- Use to select "Custom Key", and then select .
- The Custom Key menu appears.
- Use to select the custom key to which you want to assign a function, and then select .
- The menu for assigning a function appears.
- Use to select the function that you want to assign, and then select .
- That function is assigned to the custom key.
- Press
 several times.
 - The Setting menu exits.
Functions that can be Assigned to Custom Keys
Function | Description |
|---|---|
Off | Disables the custom key. |
Input Range | Sets the Input Range function. See Input Range . |
BT.709 Gamut Warning | Sets the BT.709 Gamut Warning function. See BT.709 Gamut Warning. |
Luminance Warning | Sets the Luminance Warning function. See Luminance Warning. |
Prev. Color Mode | You can return to the previous color mode. This is convenient for checking the differences between two color modes.
|
Information | You can view the input signal information and color information.
|
Marker 1 | Sets the Marker 1 function. See Marker - Marker 1. |
Marker 2 | Sets the Marker 2 function. See Marker - Marker 2 / Marker 3. |
Marker 3 | Sets the Marker 3 function. See Marker - Marker 2 / Marker 3. |
PQ Option | Sets the PQ option function. See PQ Option. |
HLG Option | Sets the HLG option function. See HLG Option. |
Pixel Inspection | Executes the Pixel Inspection function and displays the color information of the pixel at the set coordinates. The coordinates are specified in the "Pixel Inspection" menu in the Setting menu (see Pixel Inspection). |