Setup
Package Contents
- Monitor

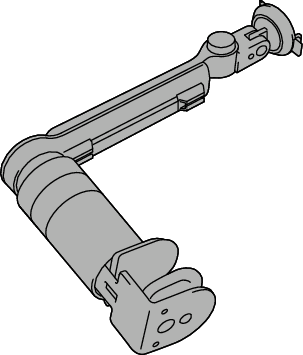
- Monitor arm*1
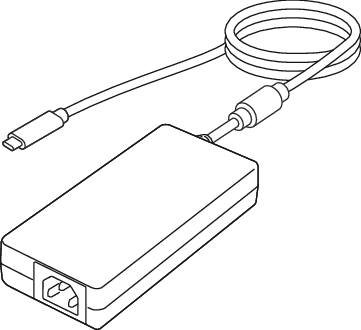
- AC adapter
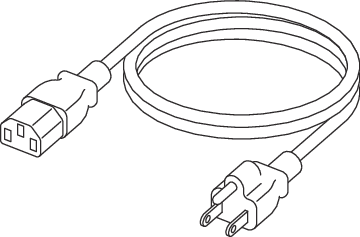
- Power cord
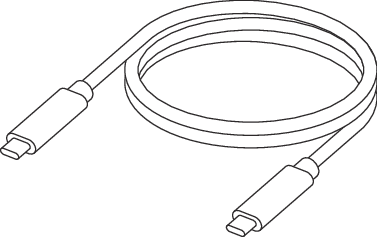
- USB-C cable (USB-C to USB-C) CC150SS81G-5A
- VESA mounting screws M4x10 x 4*2

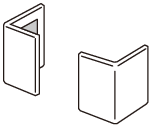
- Edge support*2*3
- Read first guide
- Not included with the free mount specification model.
- Included only with the free mount specification model.
- Used when the monitor is placed at an angle of 5° to 45° downward. For details, see How to Install Edge Support.
Attaching an Monitor Arm
- Secure the monitor arm to the horizontal surface of a desk. Turn the grip clockwise to clamp the desk surface.
The monitor can be mounted on a desk surface with a thickness between 10 and 40 mm. Make sure the underside of the desk surface is flat. 
Note
- For the depth of the arm mounting area, refer to the dimensional diagram on our web site.
(www.eizoglobal.com/support/db/products/model/FLT ) - Turning the grip counterclockwise will reduce the clamping force on the desk surface, allowing you to remove the monitor arm.
- For the depth of the arm mounting area, refer to the dimensional diagram on our web site.
- Attach the monitor arm to the monitor.
Adjust the position of the monitor arm so that the connection points between the monitor and the monitor arm are visible.
Hook the monitor onto the upper clips of the arm (2 points) (1), then snap the monitor into the lower clips of the arm (2). The installation is complete when you hear a clicking sound. Attention
- When attaching the monitor to the monitor arm or adjusting its position, hold the monitor by its sides or top and bottom with both hands.
- Be careful not to grab the screen too hard with your hands.
- Do not touch or remove the spring on the monitor arm.
- Check that the monitor arm is properly attached by pushing it side to side and back to front.
Attention
- Rotating the screen vertically is not supported. Please be careful not to forcefully rotate it.
Note
- If you want to remove the monitor, follow the steps below.
- While holding the monitor with one hand, press the lock button with the other hand.
- Remove the bottom of the monitor from the arm and lift it upward while the monitor is tilted.
Connecting Cables
You can use this product in two ways:
- Supply power from the enclosed AC adapter
- Supply power from a PC (without using the enclosed AC adapter)
Supplying Power From the Enclosed AC Adapter
- Insert the power cord firmly into the AC IN port of the AC adapter.
- Insert the USB-C connector on the AC adapter into the USB-C connector (power:
 ) of the monitor.
 - Insert the power cord into a power outlet.
- Connect the USB-C connector (upstream:
 ) of the monitor to a PC using the enclosed USB-C cable.
Attention
- For a two-pin power outlet, use the supplied two-pin adapter and make sure to ground the earth lead (green).
- Use a power supply that complies with IEC 60950-1 standard SELV (Safety Extra-Low Voltage) / LPS (Limited Power Source) or a power supply that complies with IEC 62368-1 standard ES1/PS2.
Note
- The USB-C connector (downstream:
 ) can be used for connecting USB-C compatible peripherals or for charging smartphones.
 - Daisy-chain connection of monitors is not supported.
Supply Power from a PC (without using the enclosed AC adapter)
- Connect the power cord of the PC.
- Connect the USB-C connector (upstream: ) of the monitor to a PC using the enclosed USB-C cable.
Attention
- To supply power from a PC, the USB-C connector of the PC must support a power supply of at least 15 W (5 V/3 A). If it is less than 15 W (5 V/3 A), the monitor will not work.
- When supplying power from a PC, the USB-C connector (downstream: ) will no longer be available.
Turning On the Power
- The power indicator lights up white when the power switch (
 ) on the front of the monitor is touched.
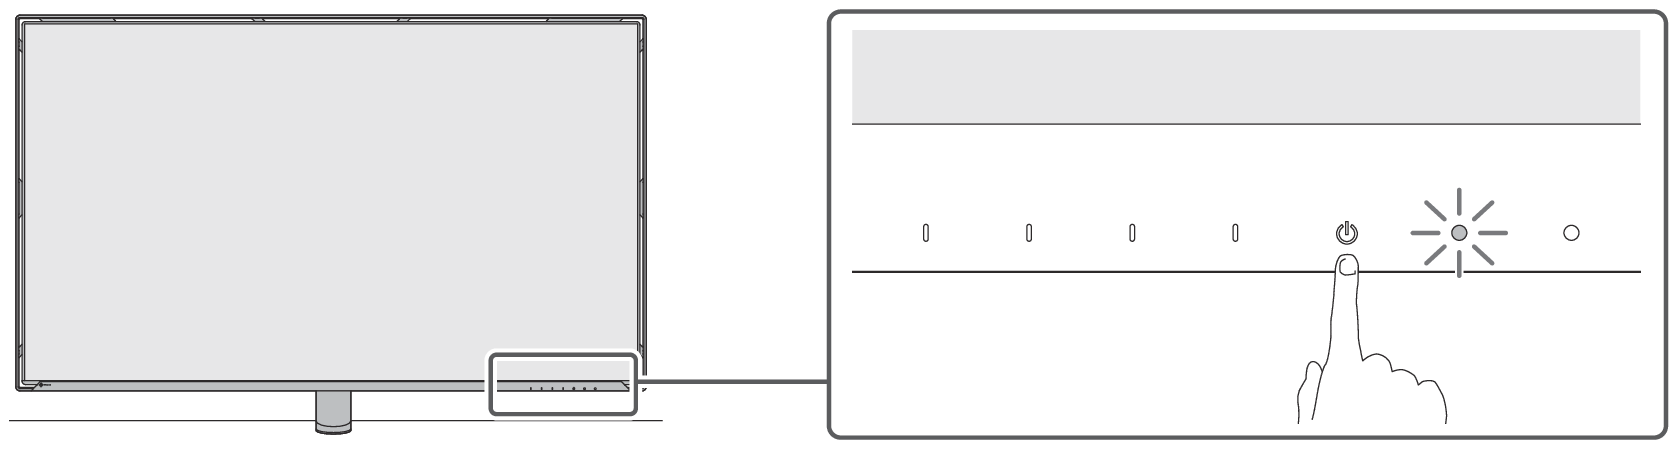
- If the PC is not turned on, turn it on.
- If the screen does not display, see No Picture.
Setting Up Multiple Monitors
When using a laptop with a multi-monitor setup, you may need to change the display settings on the PC.
For information on how to change the display settings on the PC, refer to our web site.
Adjusting the Screen Height and Angle
You can adjust the height, depth, and angle of the monitor.
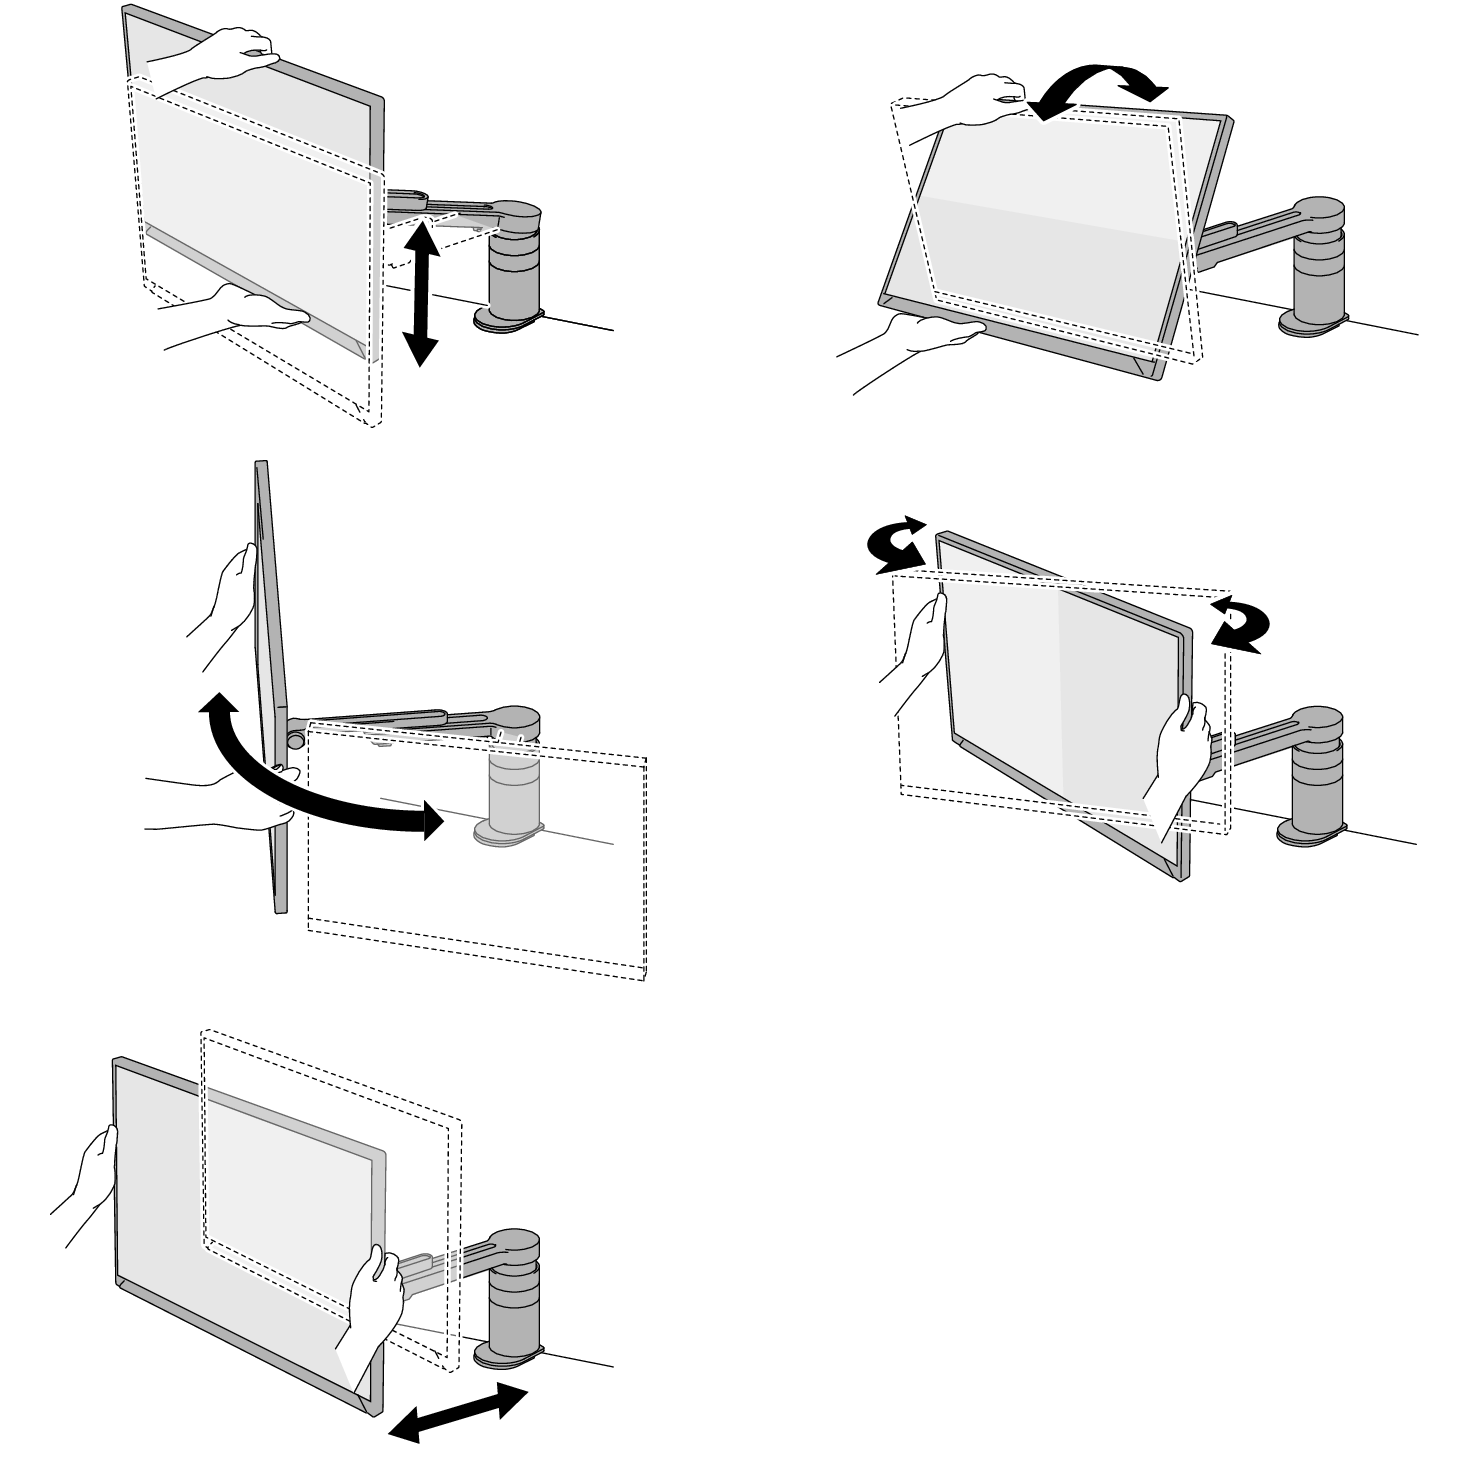
Attention
- Be careful not to hold down the screen too hard with your hands.
- For the range of motion of the monitor arm, refer to the dimensional diagram on our web site.
(www.eizoglobal.com/support/db/products/model/FLT ) - Rotating the screen vertically is not supported. Please be careful not to forcefully rotate it.
- When using the swivel function of the monitor, you cannot adjust the vertical angle of the monitor.
- Do not use while the monitor is extending beyond the edge of the desk surface.
- When installing at an angle of 5° to 45° downward, attach the edge support to the monitor (see How to Install Edge Support).
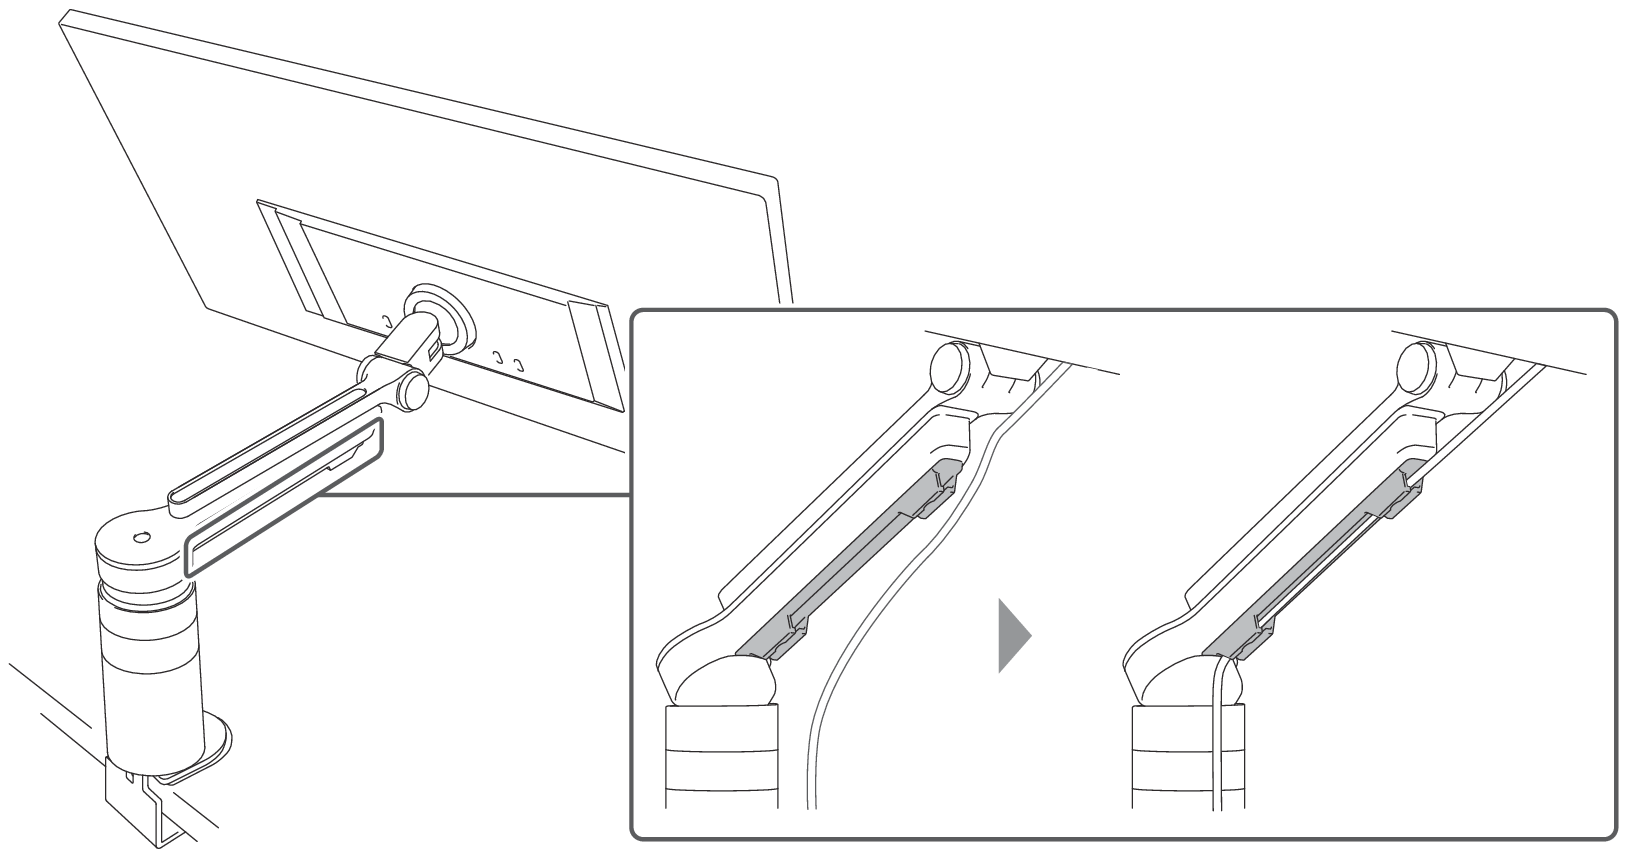
Organizing Cables
Cable holders can be used to neatly organize cables.