How to Color Match Your ColorEdge Monitor and Photo Prints
Monitor Adjustment - ColorNavigator Elements
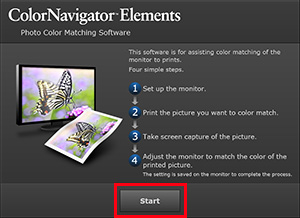
The ColorEdge CX and CS Series’ support photo color matching software that allows you to easily adjust your monitor without using an external calibration sensor.
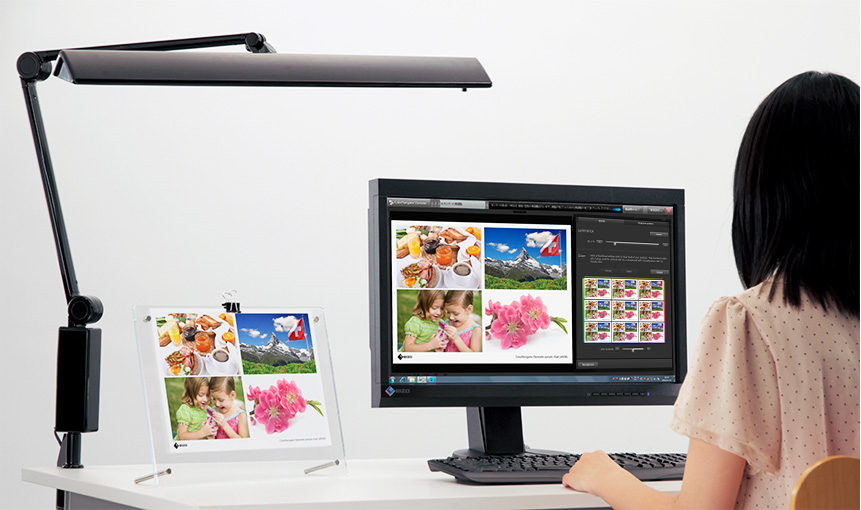
Simply choose the image that most closely resembles your printed photo for convenient color matching that is easy, even for beginners.
Preparing the Monitor
1. Connect the Cables
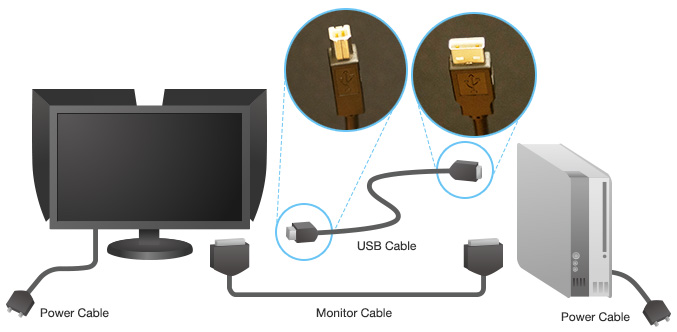
- Connect your ColorEdge and the computer to the power using the power cables.
- Connect your ColorEdge to the computer via the monitor cable.
- Connect your ColorEdge to the computer via the USB cable*.
- When connecting your ColorEdge using the USB cable, make sure it is plugged in properly. Insert the upstream square tip into the ColorEdge, and the downstream rectangular tip into the computer.
2. Install ColorNavigator Elements
|
|
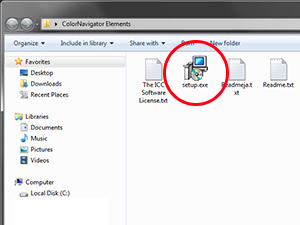
Make sure your computer is connected to the power and download ColorNavigator Elements from the EIZO website.
After extracting the file, double click on Setup.exe if you are using Windows or “ColorNavigatorElements.pkg” if you are using Mac to begin the installation. |
|
|

Adjustment Guide
A simple 4-step guide!
1. Basic Monitor Settings
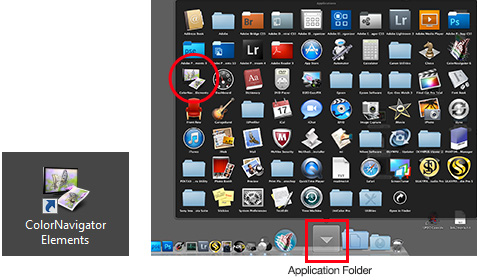
- For Windows, double click on the ColorNavigator Elements shortcut on the desktop
-
For Mac, go to Finder > Applications Folder, or to the Application Menu, and double click on the ColorNavigator Elements icon.
We recommend adding it to the Dock for future use.
For Windows For Mac
|
|
When the menu is displayed, read the explanation and click “Start.” |
|
|
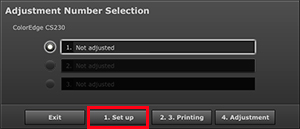
The Adjustment window will appear. You can save up to 3 adjustment results. |
|
|
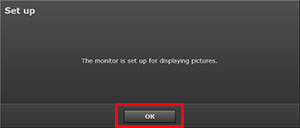
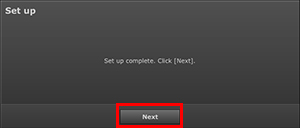
By simply following the instructions on the screen and clicking “OK” and “Next,” the monitor will automatically be adjusted to the suitable settings for displaying photos. |
2. Print a Reference Photo for Color Matching
|
|
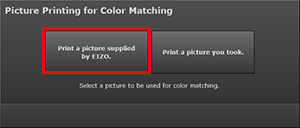
Print a reference photo to be used for color matching. You can use the matching sample recommended by EIZO or your favorite photo from your stock. Here we will use EIZO’s matching sample so click “Print a picture supplied by EIZO.” |
|
|
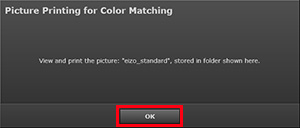
Follow the instructions and click “OK.” |
|
|
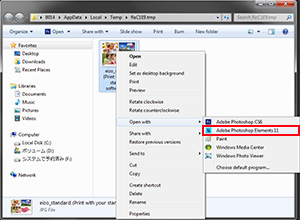
Right-click on the displayed photo data, choose “Open with…” and select the name of the retouching software that you will use.
|
|
|
|
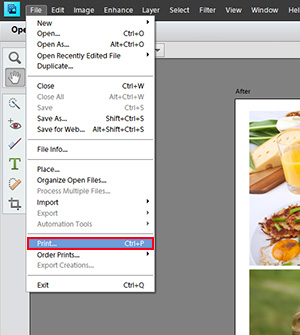
Before you open your photo:
It is important to have the correct settings in your retouching software and printer.
Though we have not yet completed all the steps in this ColorNavigator Elements guide, next we will check for the correct software and printer settings here.
![Before opening your photo data, set your retouching software [Image Retouching Software Settings]](http://www.eizoglobal.com/library/management/matching/calibration/btn_04.gif)
-
You can use the above map to return to any section of this guide.